|
These are photos of the old engine and transmission being removed along with other things i was working on outside and inside the car.
Photo 1) First day car arrived home.
Photo 2-3)Beginning of the engine removal process
Photo 4) Old interior
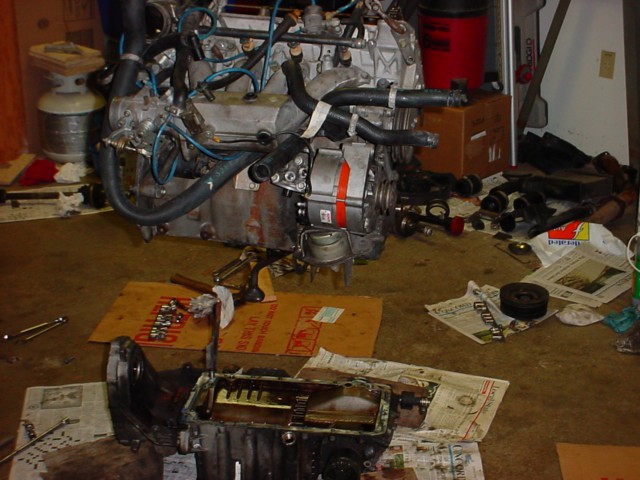
Photo 5) A look at the front of the engine and clutch upon removal.
Photo 6) Labeling of all associated wires to allow for proper reinstallation.
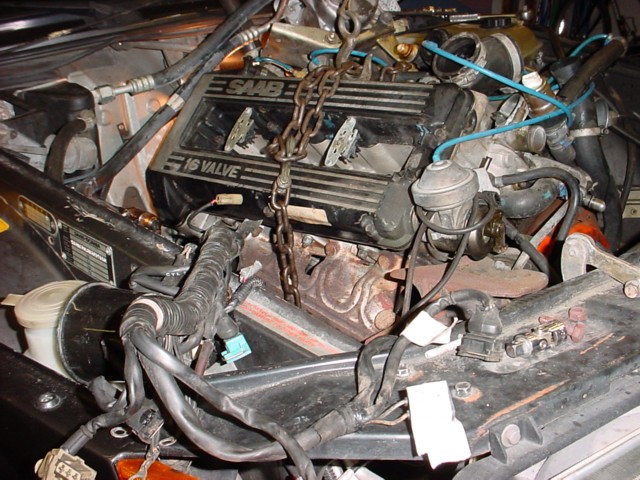
Photo 7) Another look at the engine along with the turbo.
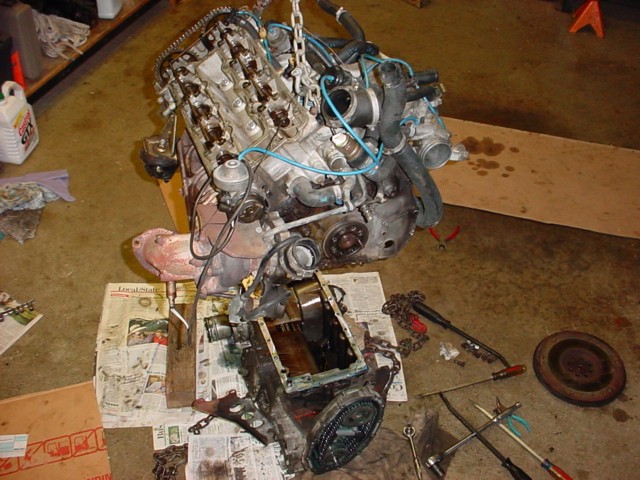
Photo 8-10)Your looking at different angles of the engine and transmission separated.
Photo 11-12) Cracked transmission
Photo 13) Intercooler, cooling fans and pipes.
|
|
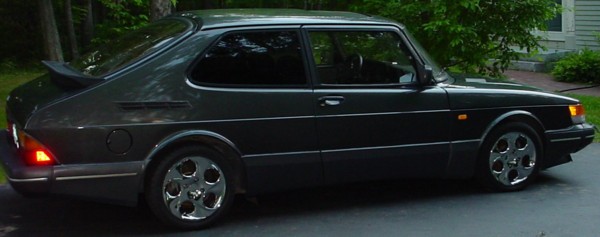
First Day Home
|
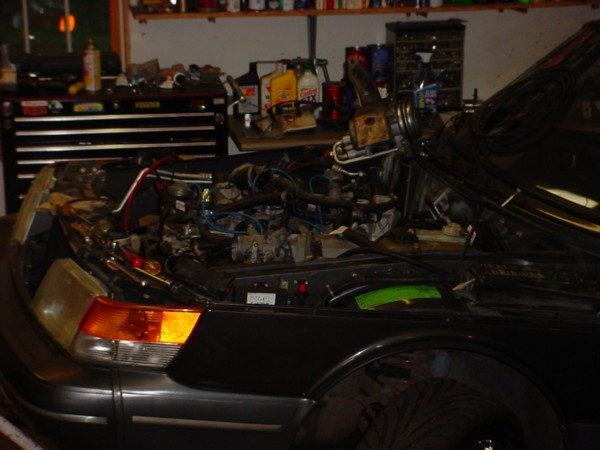
The beginning of removing the engine
|
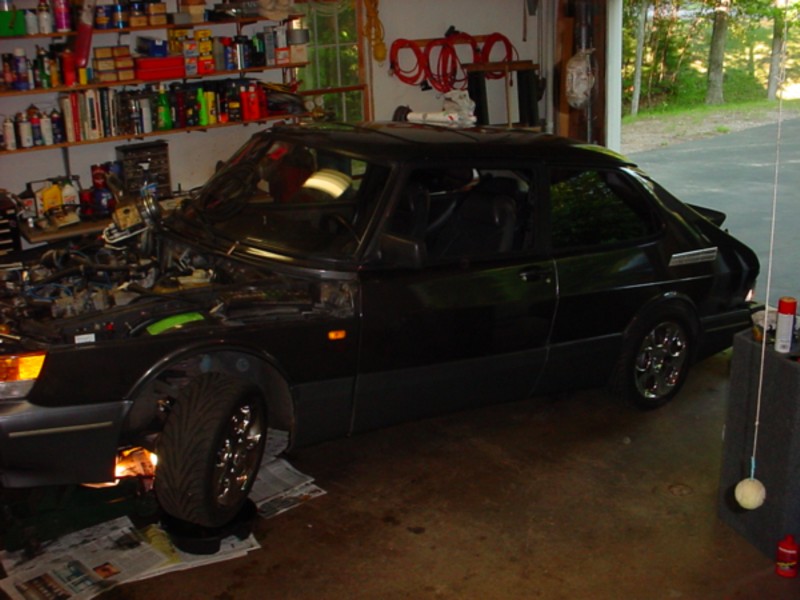
I'm starting to tint my taillights, and you can see that i painted my side vents.
|
|
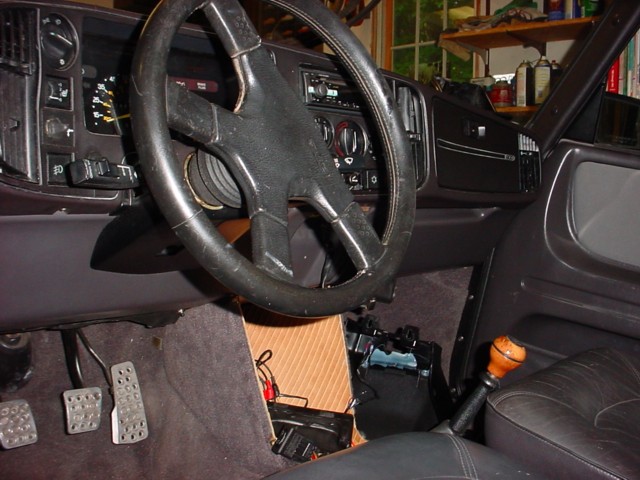
Ew, wait till you see my new interior :)
|

Is that an aftermarket clutch?? hmmmm i think so :)
|
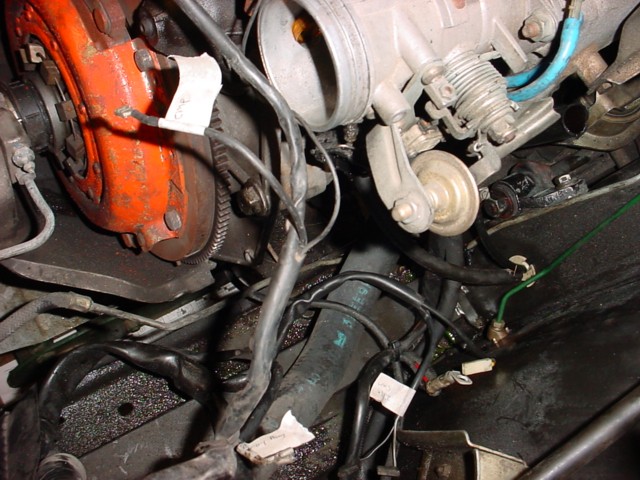
I'm very organized, as you can tell with my labels on the wires so i won't get mixed up when i'm puttin it back together
|
|
I'm slowly taking the engine out
|
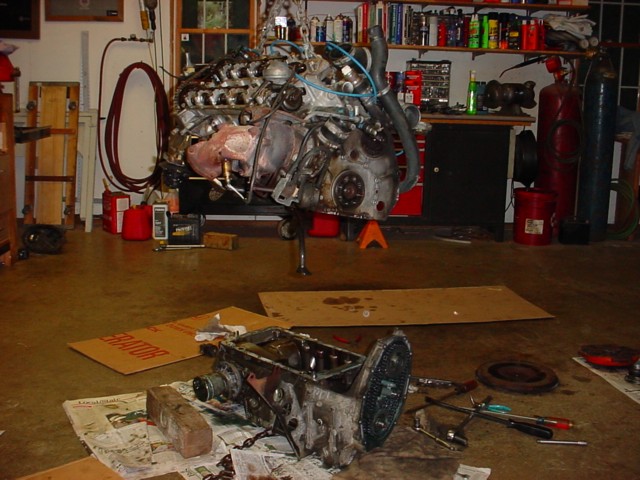
The cracked trany is on the floor, with the soon to be blown engine which is hanging along with the head and turbo.
|
A look down on the head then the turbo which is apart of that steel elbow
|
|
Look, more of my labels
|
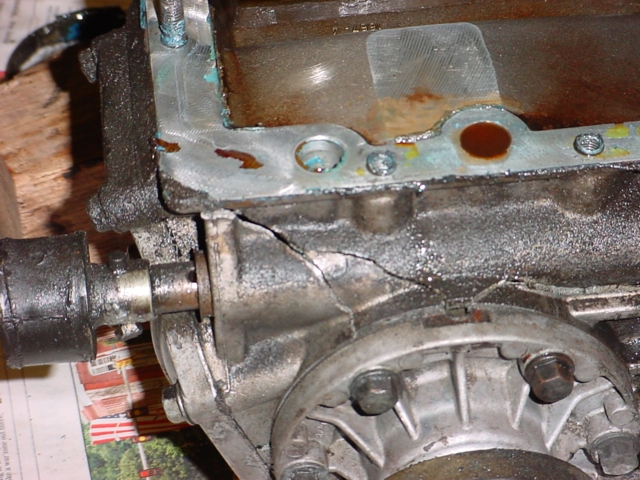
Thats a BAD crack in the transmission
|
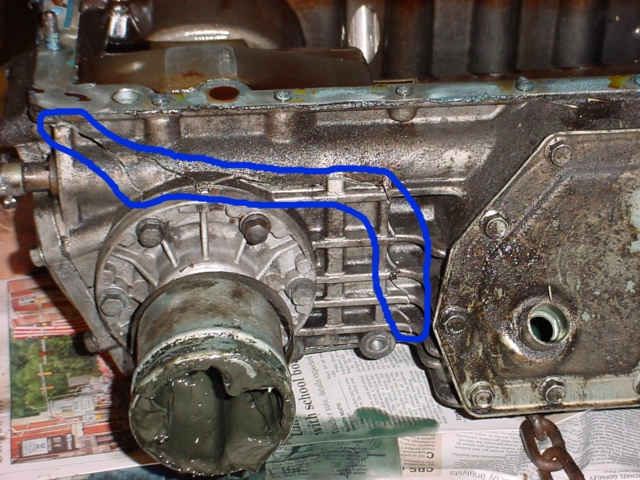
Look at the major damage!!!! And for the girls that is really really bad!!!! haha jk (Lauren)
|
|
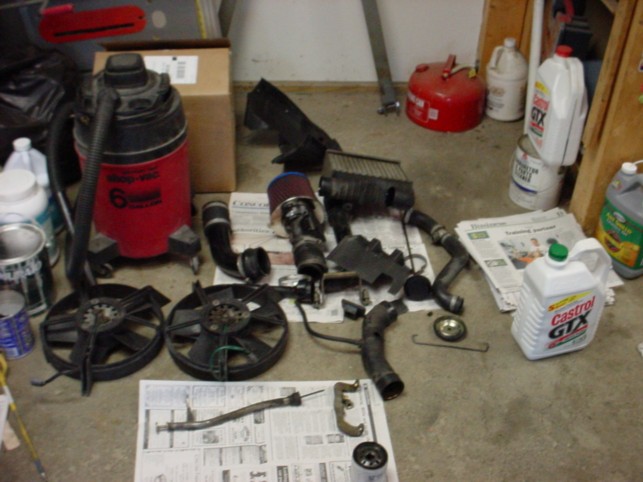
Starting at the top left: the garage vaccum, intercooler pipe, K&N airfilter, intercooler, other cooling pipes, and radiator fans.
|
|
|
|
|
|
|
|
|
|
|
|
|
|
|
|
|
|
|
|
|
|
|
